Analyse bank statements
Last updated: September 24, 2026
Turn processed bank statements into a transaction table, then follow citations to check the entries. Before starting, compare the accounts and statement periods you have received with those you need.
1. Define the accounts, period and question
Open the matter and make sure the relevant PDF statements have finished processing in Sources.
Select Mary tools → Analyse bank statements.
Describe the account or person, period and transactions you want to examine.
Check the proposed scope before proceeding, including whether you want payments in, payments out or both.
For example:
List payments out of the operating account from 1 April to 30 June 2026.
Add any particular payee or transaction type you need. The result includes a table for each question, with a count and total for the included transactions. If the tool is unavailable, follow help with missing features.
2. Open the transaction table
Open the completed Bank statement analysis from My workspaces, or use Open in workspace on its result card in Chats. Select Workspace to read the table.
Column | What it identifies |
|---|---|
Date | The transaction date; compare a different posting date with the statement. |
Vendor | The identified payee or merchant. |
Transaction Name | The recorded description. |
Amount | The transaction value. Check its currency and whether it is money in or out. |
Account Number | The account concerned. |
Citations | The supporting statement and page. |
Columns can vary by result. Transaction Kind classifies the transaction, such as a transfer or card purchase; Direction indicates money in or out. Neither establishes the purpose of a payment.
3. Narrow the results
Use Search across, Sort, Filter and Columns to find the entries you need. Check the table selected beside the search box and any active filters before reading a count or total.
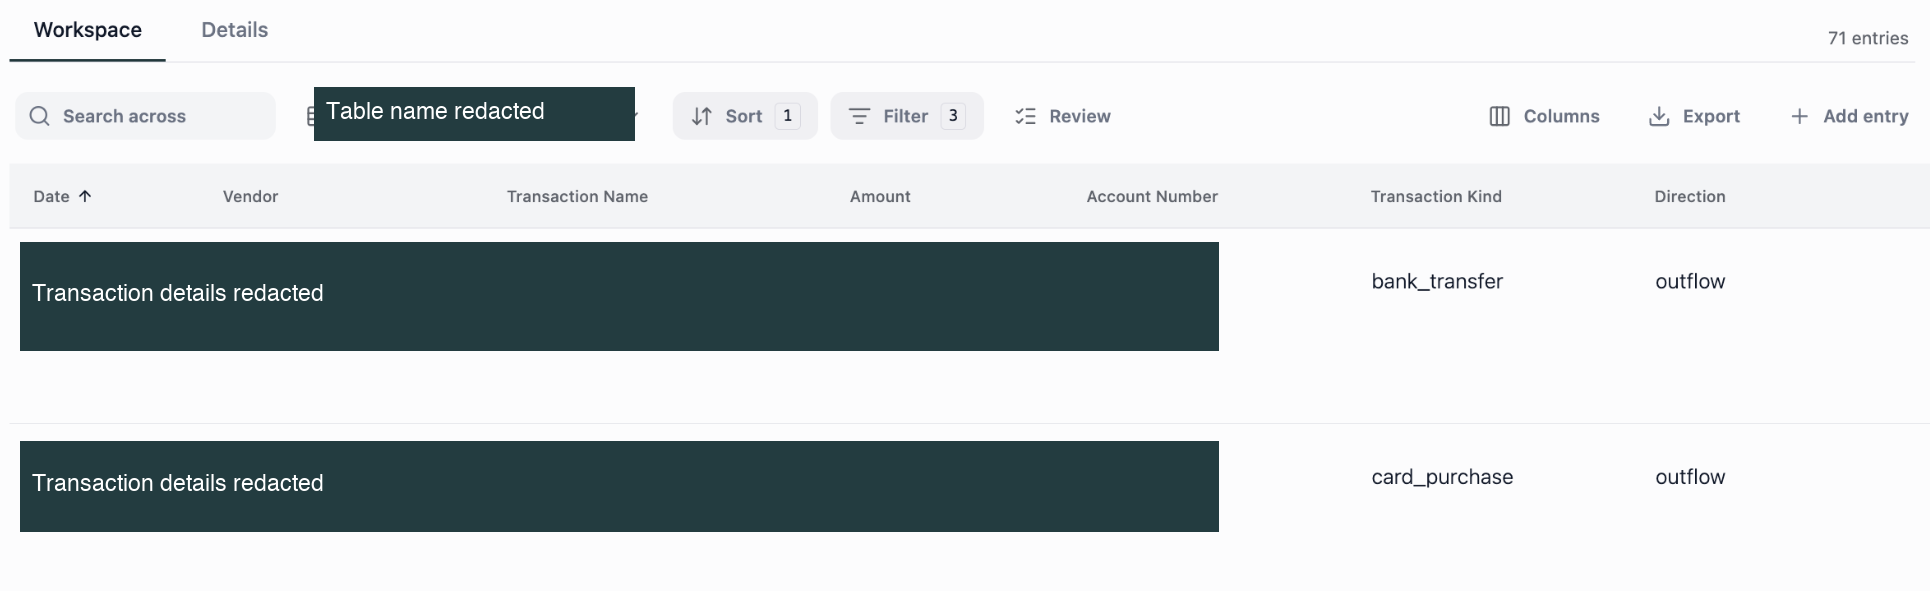
Check the selected table and active filters when examining transactions.
Your question's accounts and dates, the visible table rows and the eventual export selection can cover different transactions. Check the included records before comparing totals.
4. Check a transaction against its source
Select the row's reference under Citations to open the source page.
Compare the date, description, amount and account with the row. Check whether the statement records a debit or credit.
Read nearby entries where a reversal, related transfer or repeated transaction could affect the meaning.
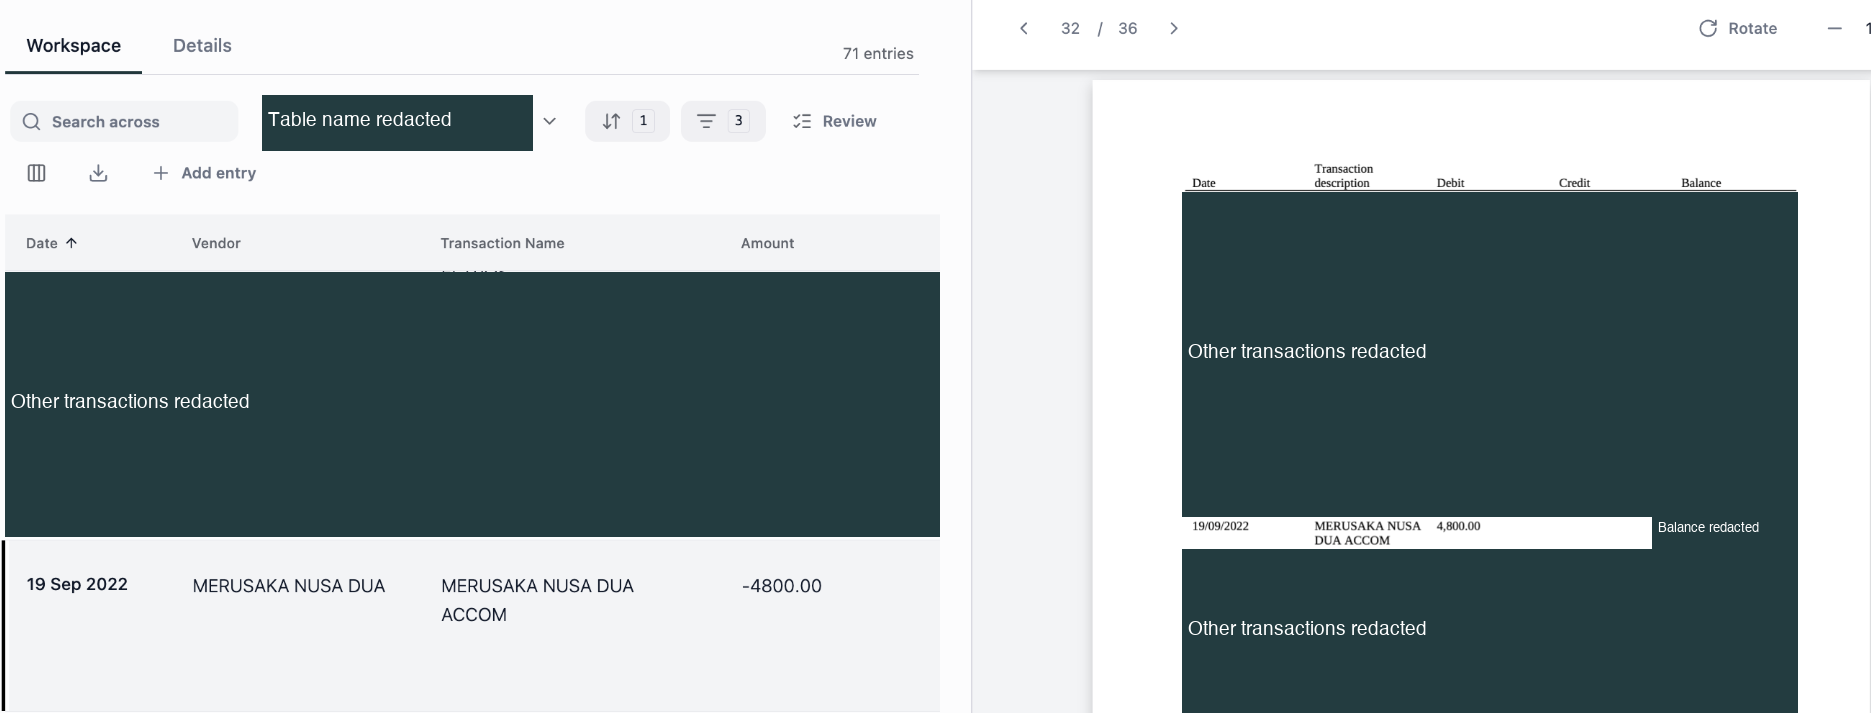
Compare the table entry with the same date, description and amount on the original statement.
The row dated 19 Sep 2022 describes MERUSAKA NUSA DUA ACCOM and shows -4800.00. The statement has the same date and description with 4,800.00 in its Debit column. The viewer is on page 32 of 36. This checks that transaction, not the completeness of the whole analysis. Viewer page numbers can differ from printed statement numbers.
Check suspected duplicates and reversals against the originals. The workflow removes matching transactions across overlapping statement files, but repeated rows within one file can remain. Poor scans or recognition failures can leave material out. The table does not automatically reconcile to the statement's printed closing balance.
A transfer and expenditure have different meanings. An external transfer label alone does not identify an undisclosed account or establish wrongdoing. Transfer tracing is available where enabled. Compare a transaction with any agreement or correspondence explaining its purpose; a matching amount alone does not connect a payment to an invoice.
5. Review or correct entries
Use Review above the table, choose statuses or flags, then select Start review. The Reviewing indicator and Review column let you work through entries and record decisions. Follow Review and verify entries for the full procedure.
To correct wording or a value, click its editable cell. Changes save and sync automatically. Check the correction against the statement before using the result.
6. Read the summary and export
Open Details → Workspace summary for the question, included material and qualifications. Read the Flags panel for issues to examine.
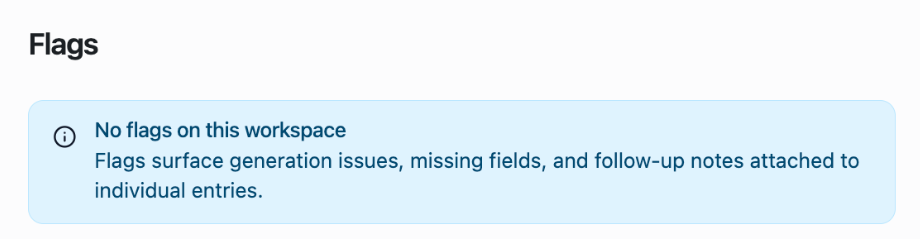
No flags means none are recorded; continue to check the source material and coverage.
Some results include Breakdown by Period or Breakdown by Vendor Category. Txns means transaction count; Total Outflow concerns outgoing payments within that section's scope.
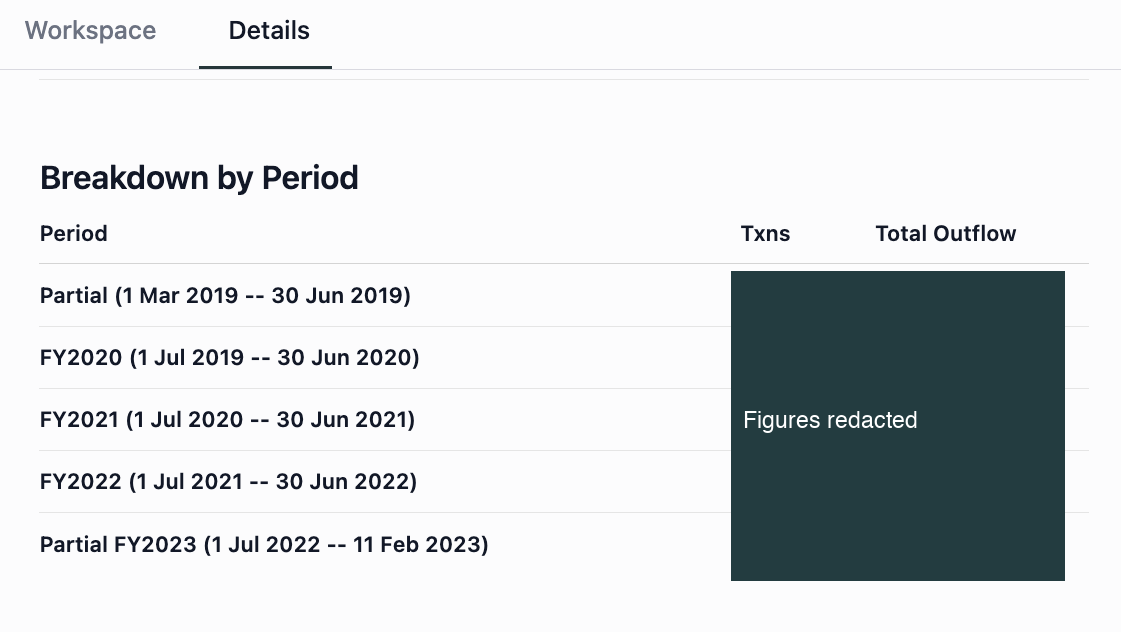
The first and last rows cover partial years. Account for the different periods when comparing them.
If no transactions meet the criteria, check the criteria and exclusions against the statement coverage. The result concerns the records and scope analysed.
Select Export, choose an available format such as Word, PDF or Excel/XLS, and check Export content and the destination. All Categories may include more than the category currently displayed. Open the downloaded file and confirm the intended accounts, dates, rows and references. See Find and export your work.