Create and edit a chronology
Last updated: September 24, 2026
A chronology is a timeline presented as a table of events, with references to the documents supporting each entry. Use it to follow an issue, person or period.
Create a chronology
Open the matter and make sure the relevant documents have finished processing in Sources.
Open Mary tools → Create chronologies.
Describe the issue or period you want to follow.
Answer any clarification questions and check the proposed plan before continuing.
When the chronology is complete, select Open in workspace on its result card.
Start with a short request, such as “Create a timeline of the design-approval discussions.” Add dates or columns when useful:
Create a chronology of the design-approval discussions from 3 to 17 March 2026. Include the date, participants, event and source. Keep any conditions attached to approval and distinguish conflicting accounts.
To return later, open the chronology from My workspaces or its result card in Chats.
Read and navigate the result
Tab | What to use it for |
|---|---|
Workspace | Read and edit entries, follow citations, search, sort, filter and review. |
Details | Check the chronology's scope, flags and documents used. |
Use Search across to find a word or phrase, Sort to change the order, Filter to narrow the entries and Columns to choose the information displayed. Keyword search highlights matches in searchable columns.
Follow a citation beside an important entry to check the original passage. An event date can differ from the document date: an April report may describe something that happened in March. Two similar entries may concern different conversations or conditions.
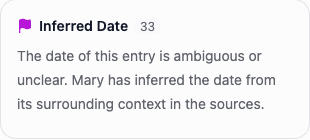
For an inferred date, check the source wording and surrounding context.
Edit an entry
Click an editable cell, such as a date, event description or other value, and make your change. A cell is one box in the table. Changes save automatically and sync with other people working on the matter.
Keep the source's qualifications. If an entry says “The client approved the design” but the email makes approval conditional on a revised drawing, include that condition in the edited text.
Check the changed wording against its citations. In a chronology, changing a verified row's data makes it need review again. Use Review and verify entries to record your decision.
Changing an entry's date or text does not replace its source reference. If you need to change the source reference and its control is unclear, give Mary support the entry, original filename and page range.
Check the documents used
Open Details → Documents used. Read the Used and Not used explanations for material relevant to your issue.
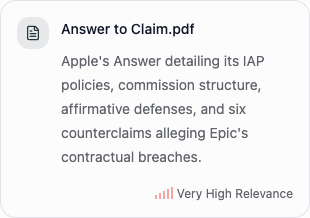
Used explains how the document contributed to this chronology.
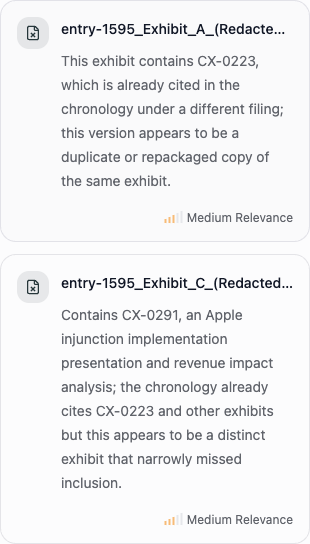
Read each Not used explanation. A possible duplicate and a separate relevant exhibit call for different checks.
A processed document can be available in the matter without contributing to this chronology. If relevant material appears under Not used, open it when checking the chronology's coverage.
Review entries and inspect history
Select Review above the entries to choose statuses or flags and check the corresponding rows. Follow Review and verify entries for the shared procedure.
For a chronology entry, View history opens Entry review. History shows recorded changes, who made them and when. Read the differences before using Restore this version, where available. This concerns an existing entry's versions; for a deleted item, use help with missing work.
Update a chronology after new documents arrive
Supported custom chronologies can show Updates available in My workspaces when further relevant documents are added. Open the chronology and read its notice. The chronology has not changed merely because the notice appears.
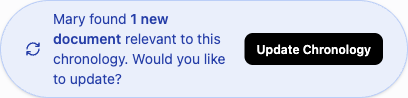
Open the new source before choosing Update Chronology.
Check that the new source belongs to the chronology's issue and period.
Select Update Chronology. Apply the updates together or review new and amended entries individually.
Wait for the accepted update to finish.
Check the resulting entries and citations. Review any verified row whose data changed.
An update applies to that chronology. Check other work separately when new evidence arrives.
When exporting, check the active keyword search and column filters because they affect the included entries. Follow Find and export your work to download and inspect the file.